DIY Burlap Wedding Shower Invite

Red Envelope Knock-off Artwork

Craft Room Reveal

Chevron Curtains
And my most popular post of 2012 is my DIY Pouf

I can't wait to share my projects in 2013! Happy 2013 to everyone and thanks for reading!!

 The pouf I made for the table works great! The navy bins my mom purchased from Pottery Barn Kids. My dad was going to make the wooden bins, but my mom found these on sale so we just got them instead.
 I love the knock off of this table and Little Man loves LOVES LOVES the train table "ba pa" made him!


 And then pinned the top layer to the side layer and SLOWLY started sewing the 3 pieces together. I worked with one section at a time.
 I then repeated for the bottom panel. This was much easier because I did not have to deal with the cording! I left one whole side unfinished for stuffing. I do not like hand stitching so I always sew both of my corners on the side I leave open so they still look good after the hand stitching is completed.

 I measured 18 inches and folded it so it was 18 inches wide.
 I folded the entire stack until it was a nice pile of batting!


 In November my Dr. Seuss Bathroom was featured. This bathroom was a lot of work - and I actually painted those fish! But I am so proud of this bathroom and Little Man still loves pointing out all of the fish each time he takes a bath!
 I used my Silhouette Cameo to make state of Wisconsin and the text.
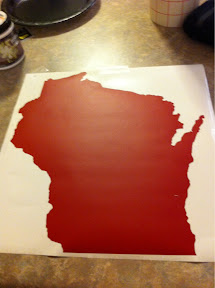
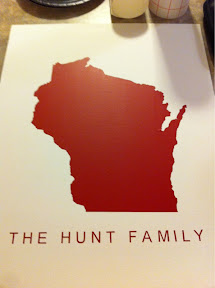

 I think it turned out great! Here is the original from Red Envelope for $120!
 While browsing the Red Envelope site I came across this pretty canvas that will go well in my guest bedroom! Again $120!
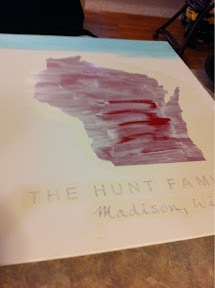
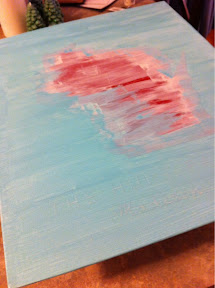
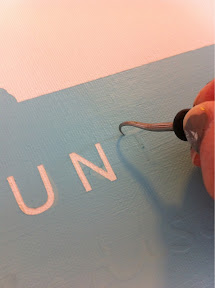
 Well here is my version. So simple I just used my Silhouette again. And this canvas I have had for about 5 years and re-painted over it the dark gray not knowing what I would use it for! So this was a pretty near free project for me! This canvas is about 15x30 inches and I love how large the canvas is and how there is so much extra space on the top and bottom!
 I am so excited, I just finished two Christmas pillows!
  I started by cutting 3 inch circles form about a 1/2 a yard of green felt fabric. I decided to only do one shade of green for my version.


 I also made another pillow that I pined on Pinterest a while back. The original pin was Quiltish but I found it from the blog: inspired honey bee. I love how this pillow turned out. Even though I am not good at using Wonder Under, I used it and then used my sewing machine to outline the trees to the pillow.

